
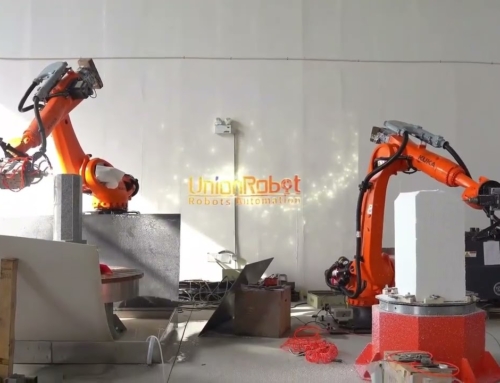
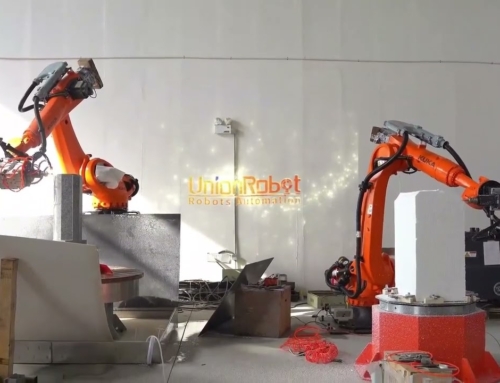
Face robot milling by nioform.se
 3 grudnia, 2021

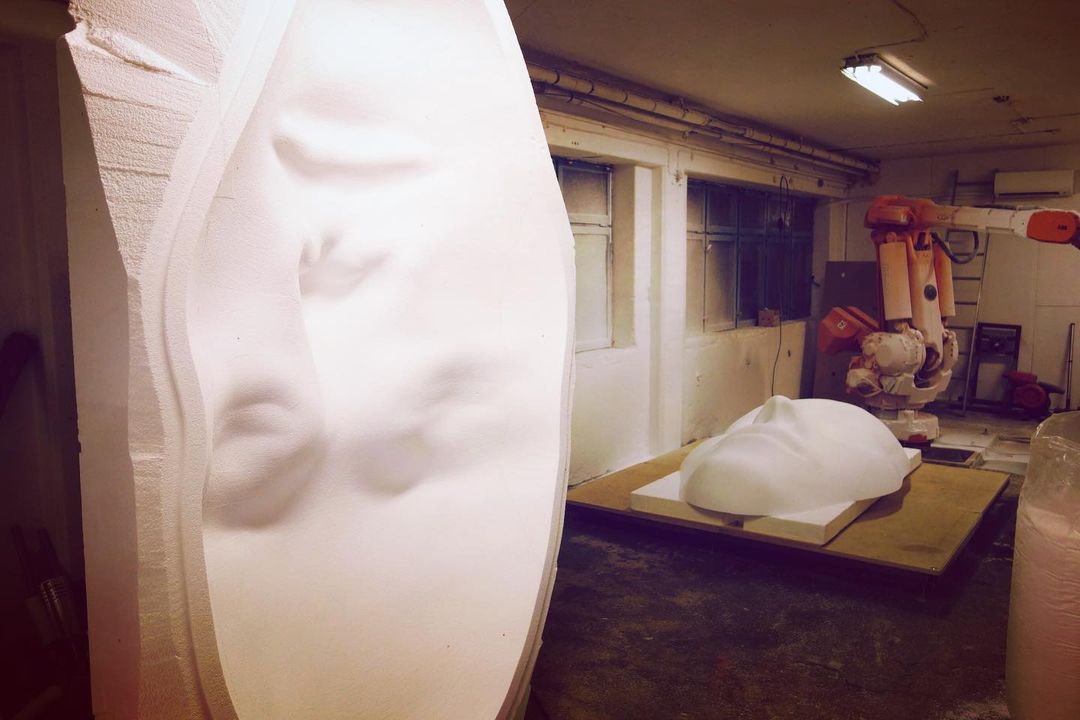
Another robot milling example. Now it’s a face project from niooform.se company.
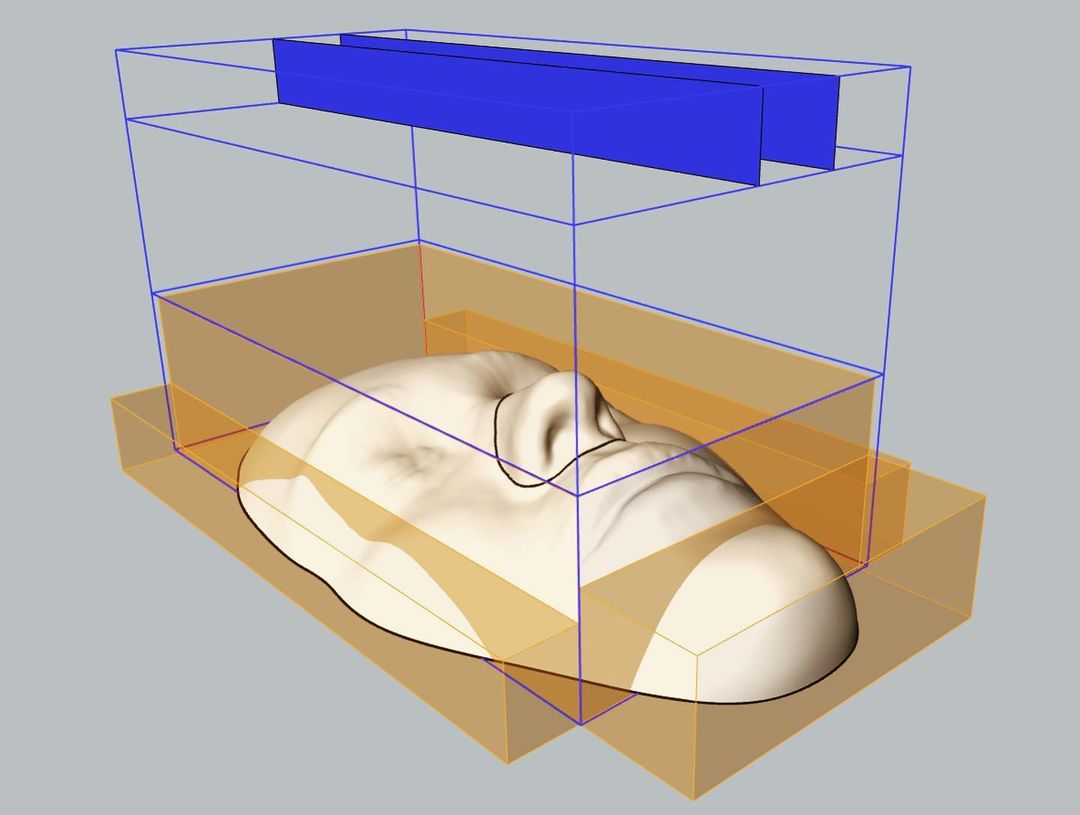
“Here begins a new project for @ateljejohanstrom where a face will be cast in iron. It is a little more tricky than normal because the model must be made thin, about 30-40 mm.
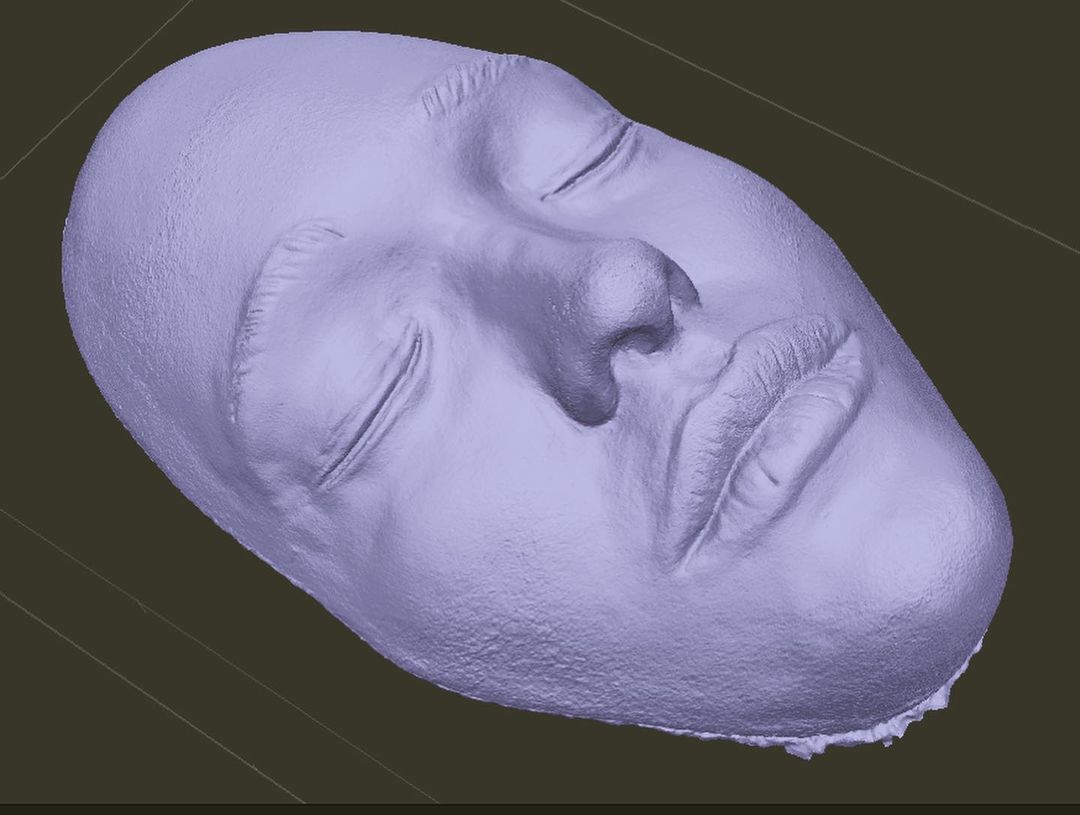
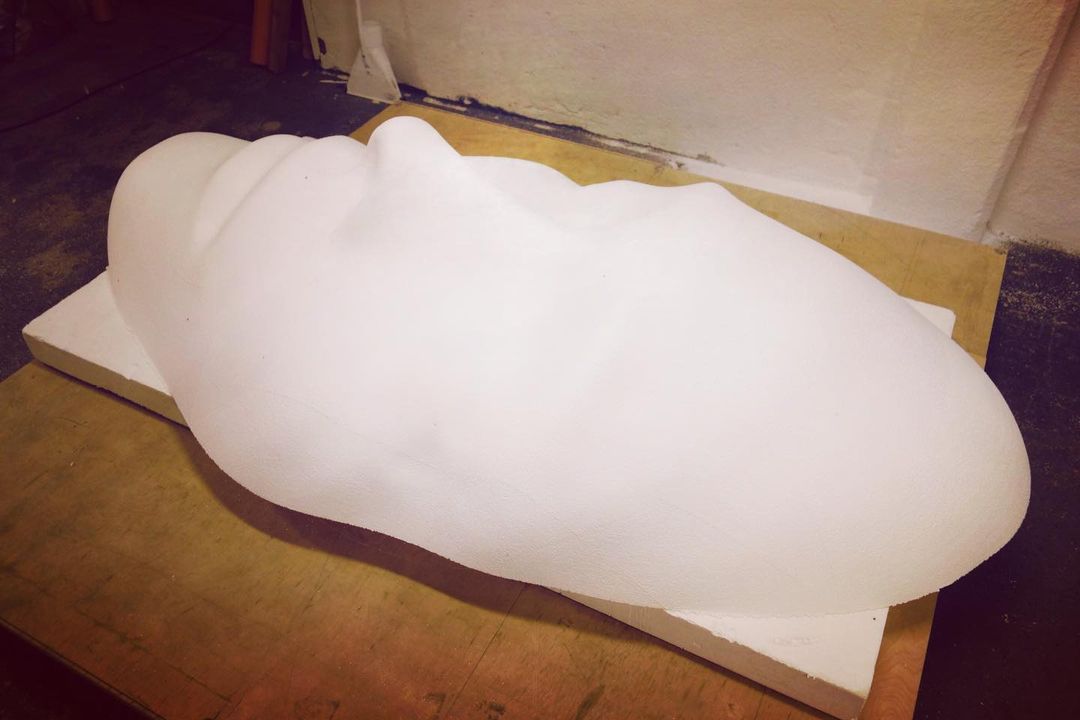
Johan has produced an original in plaster (about 20 cm long) which I scanned through photogrammetry. Special software is used to analyze a couple of hundred photographs of the original at different angles. After a few hours of calculations, you get a three-dimensional model to work on.
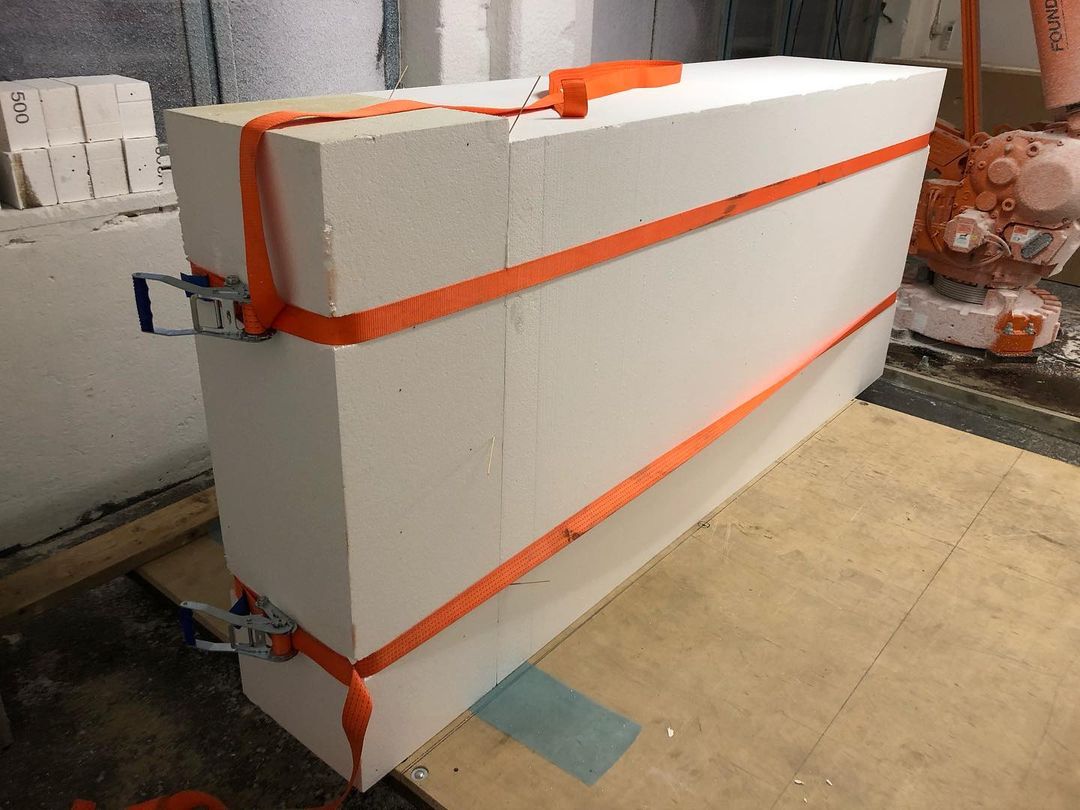
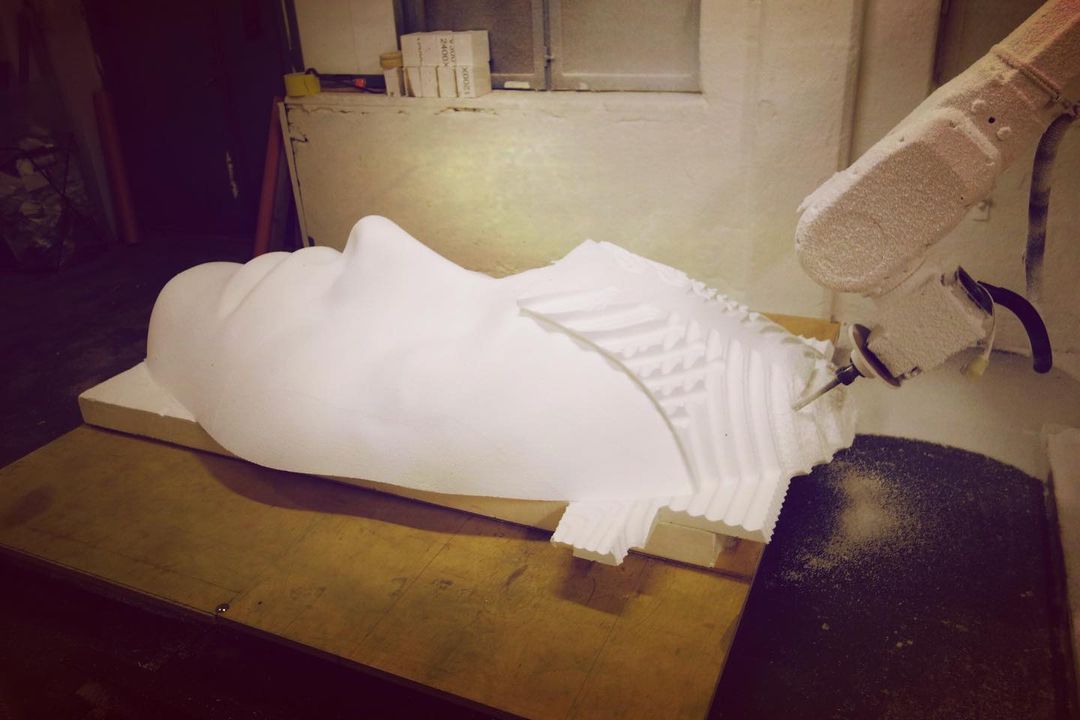
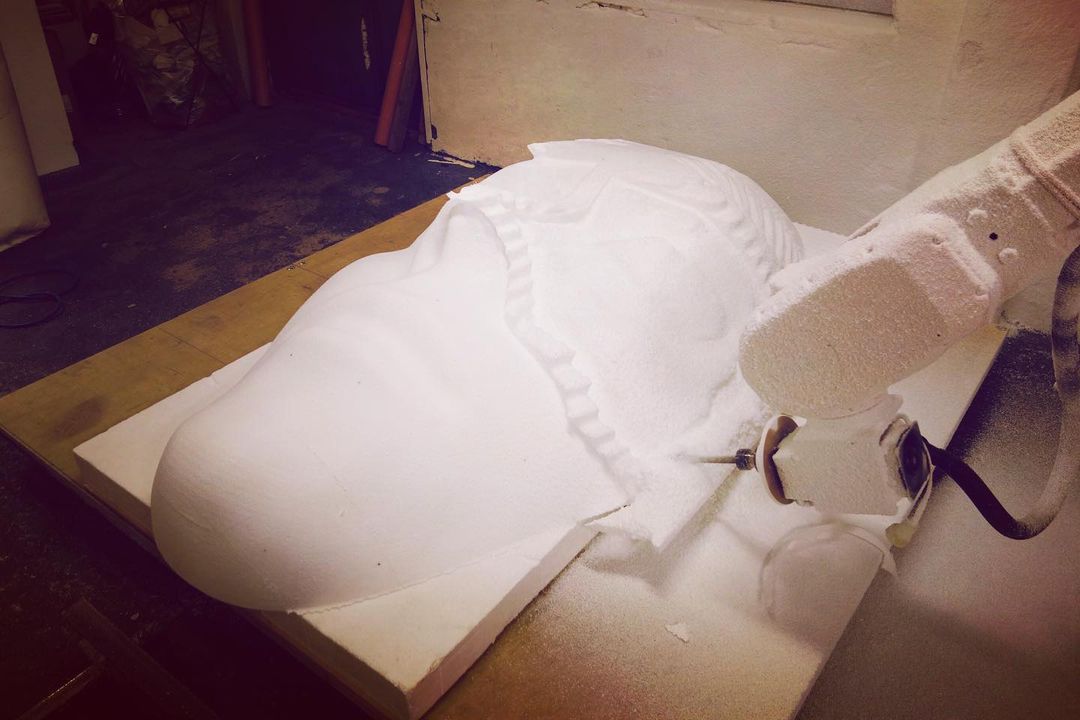
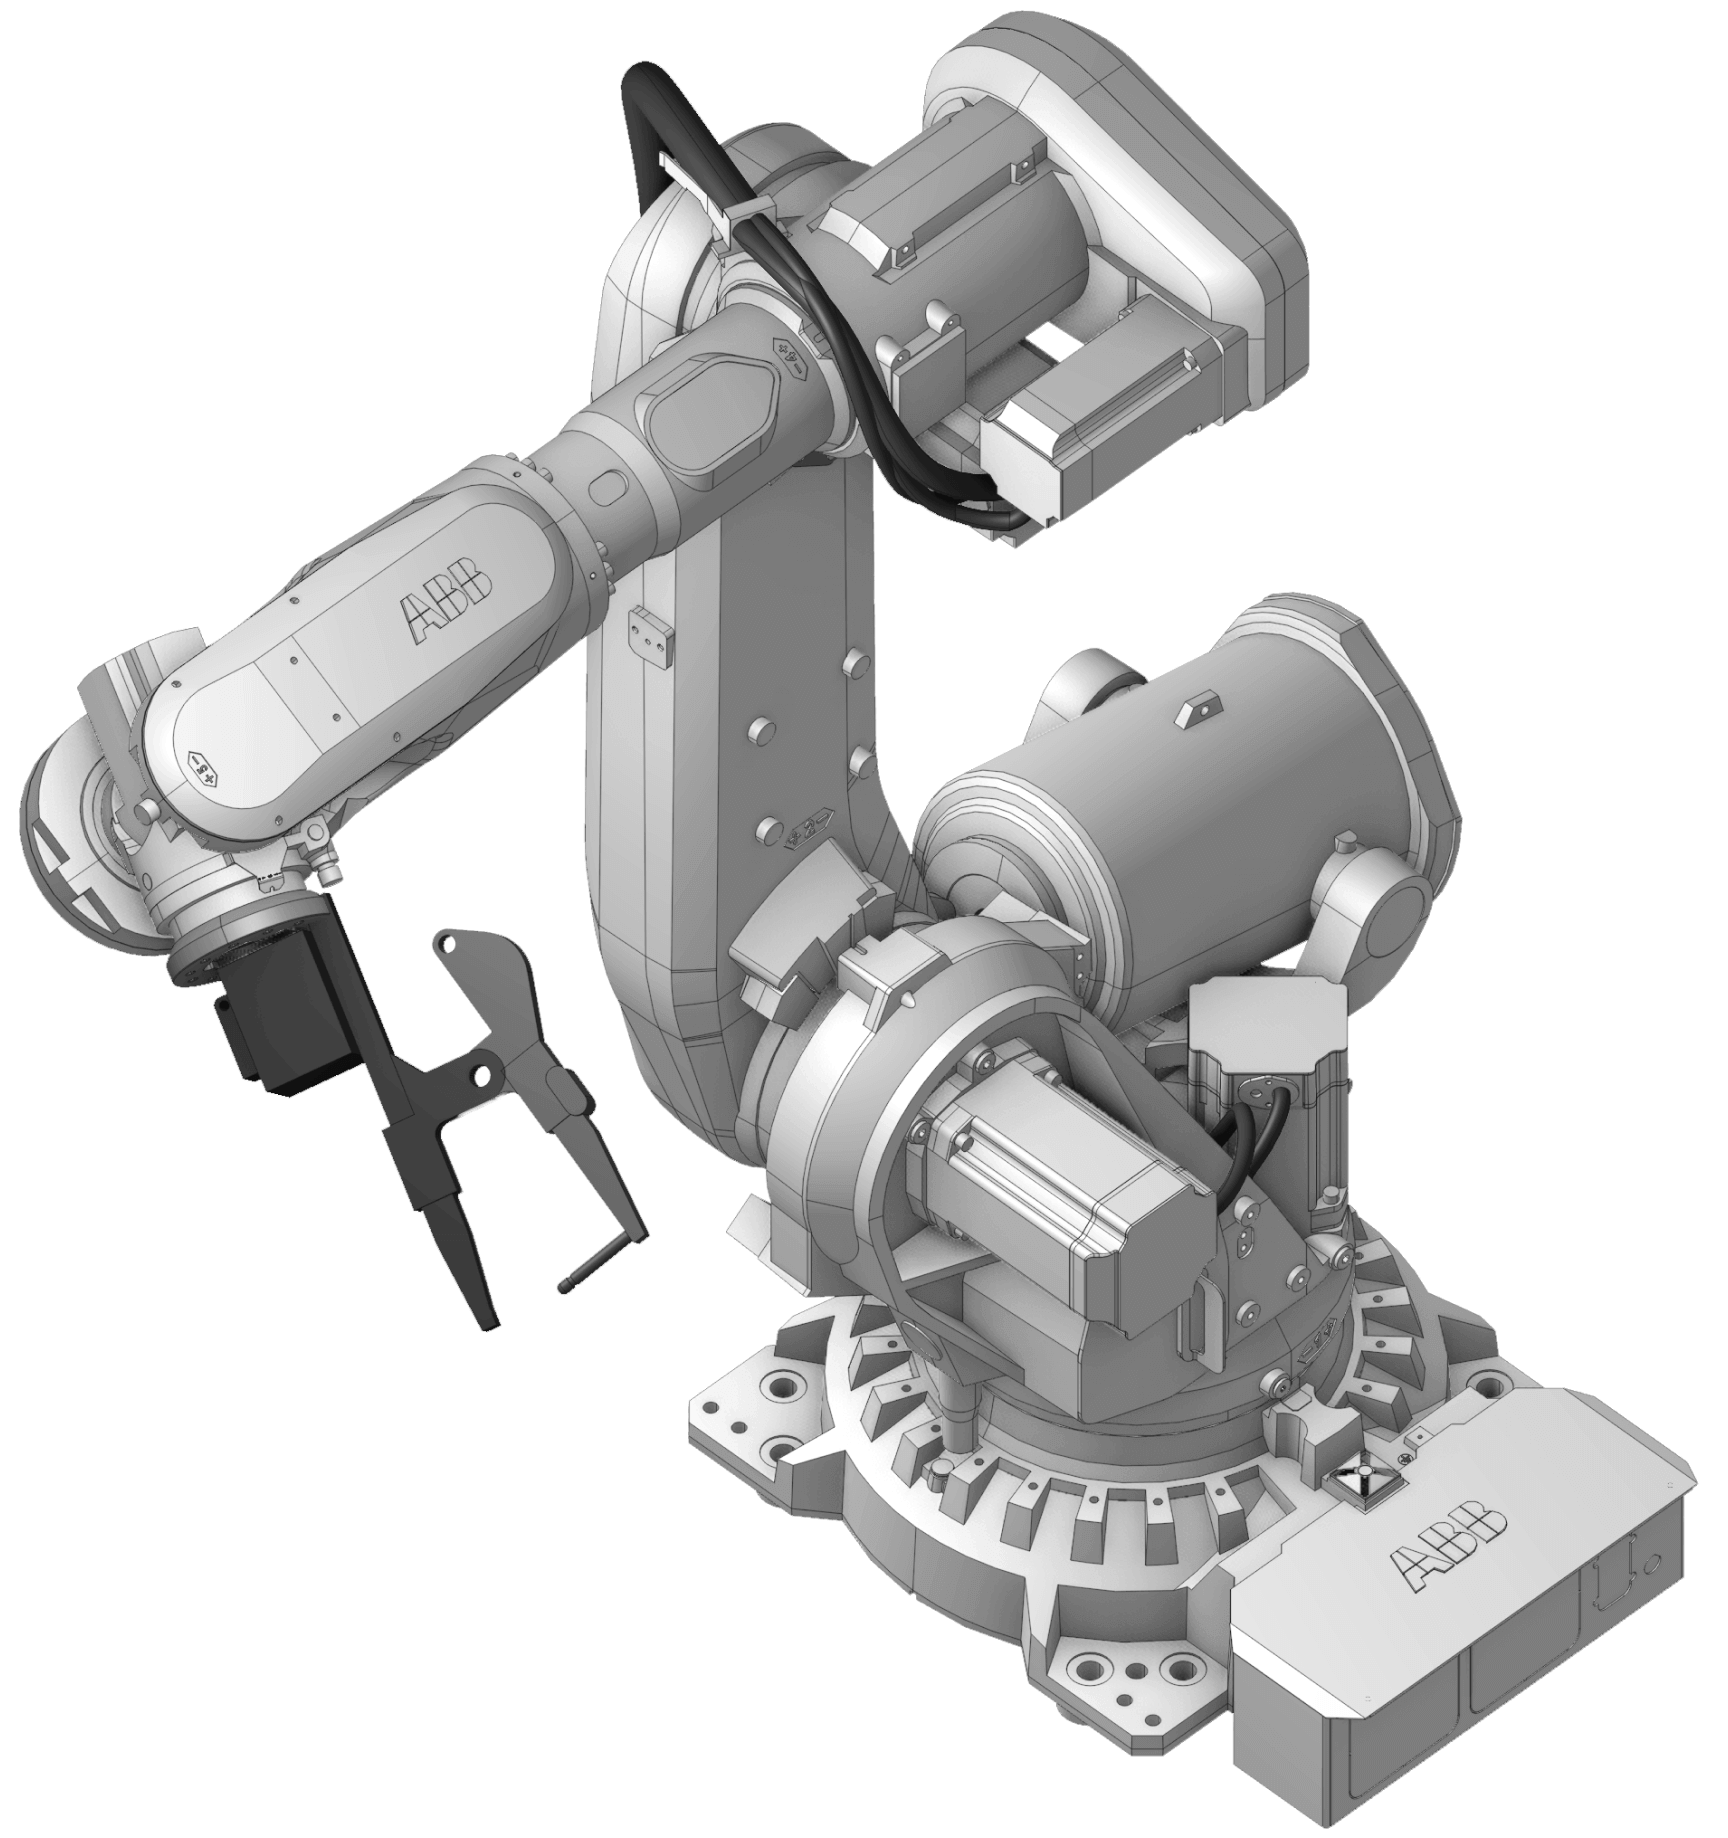
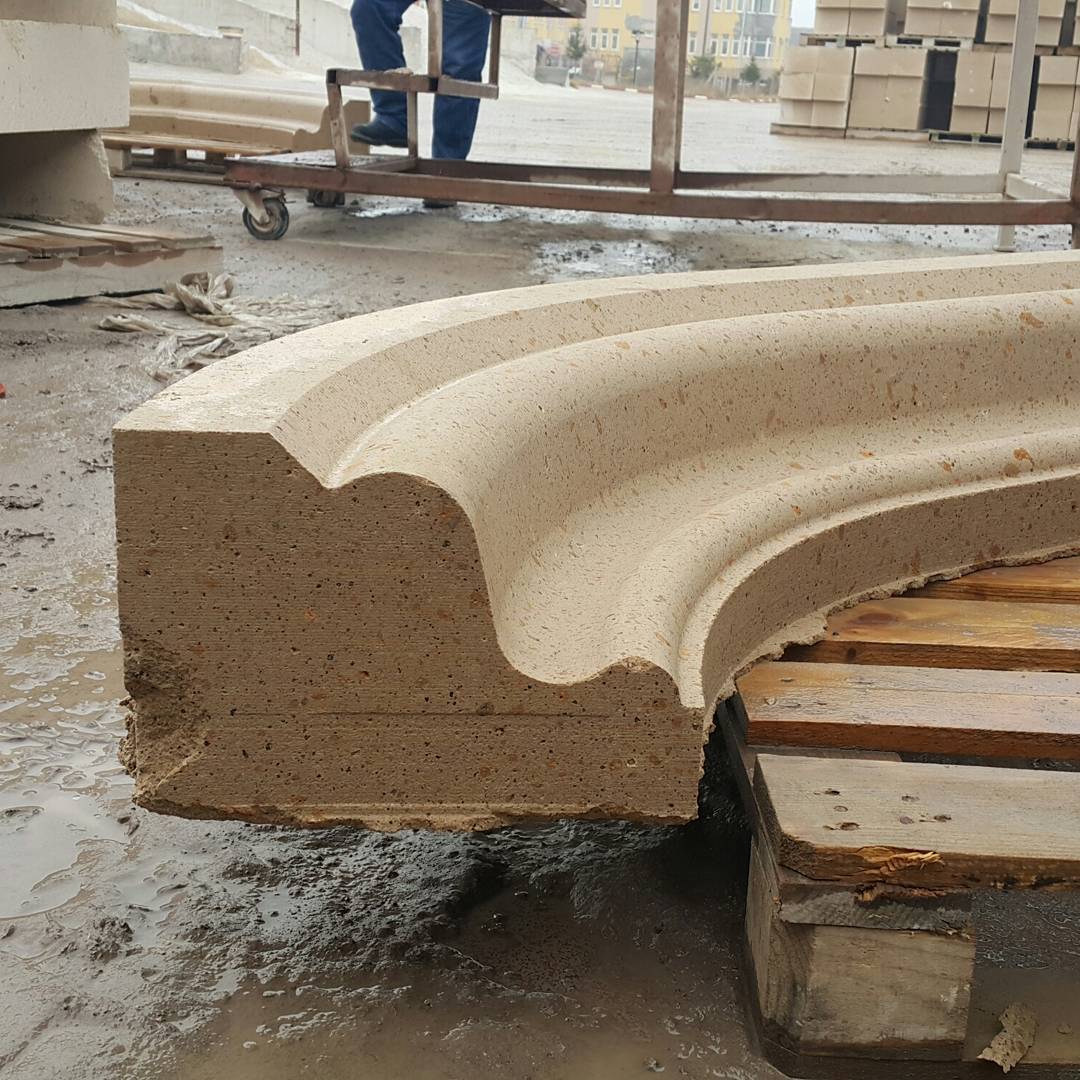
While the computer is counting on the pictures, I work with subject preparation, ie cutting large raw blocks into smaller pieces that fit the model I am going to mill. I try to reduce the number of glues, partly because it takes time, but also to avoid hard joints in the finished surface. At the same time, I try to minimize spills on the blocks, so it gets a little confusing sometimes. The pieces also need to be face-milled to get good installation and better bite in the gluing.
I glue the blocks only where it is needed to reduce the amount of glue, but also because I want to rough cut with thread and it works poorly through glue joints. This is not nuclear physics – just load straps, grills, and screws to keep things in place during curing.
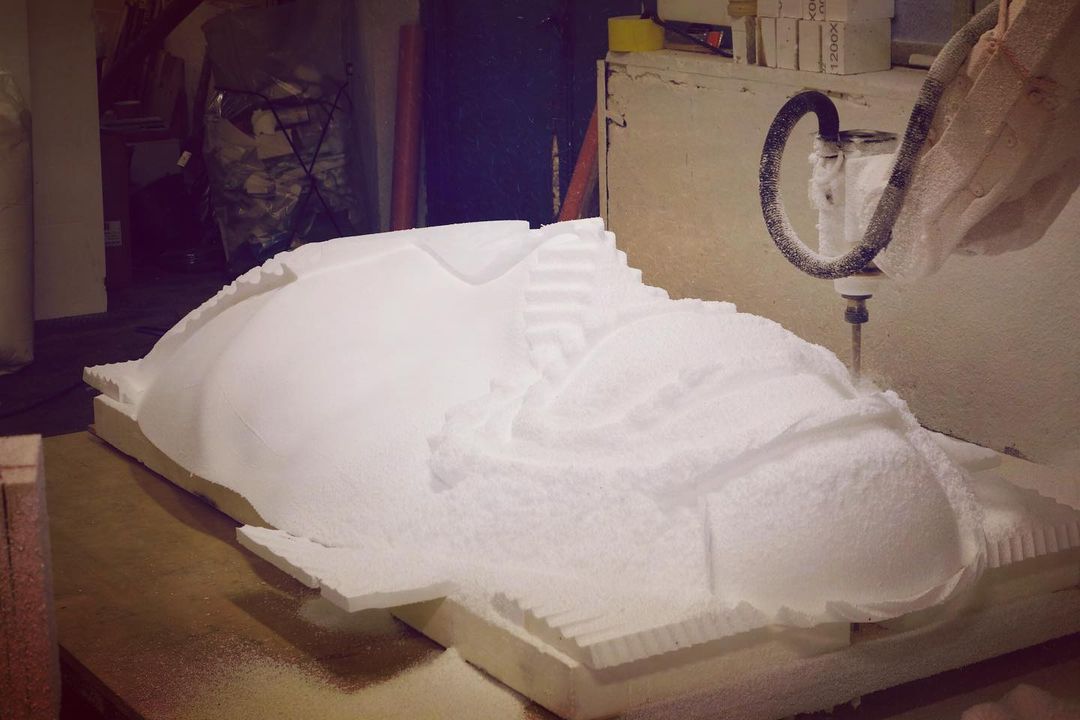
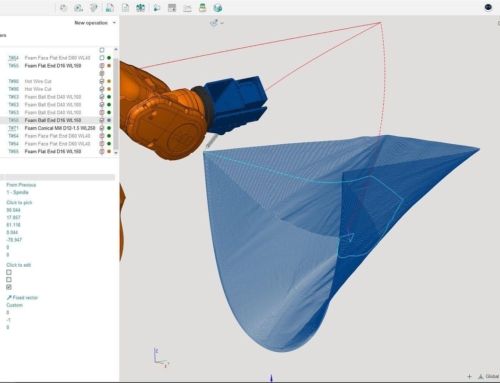
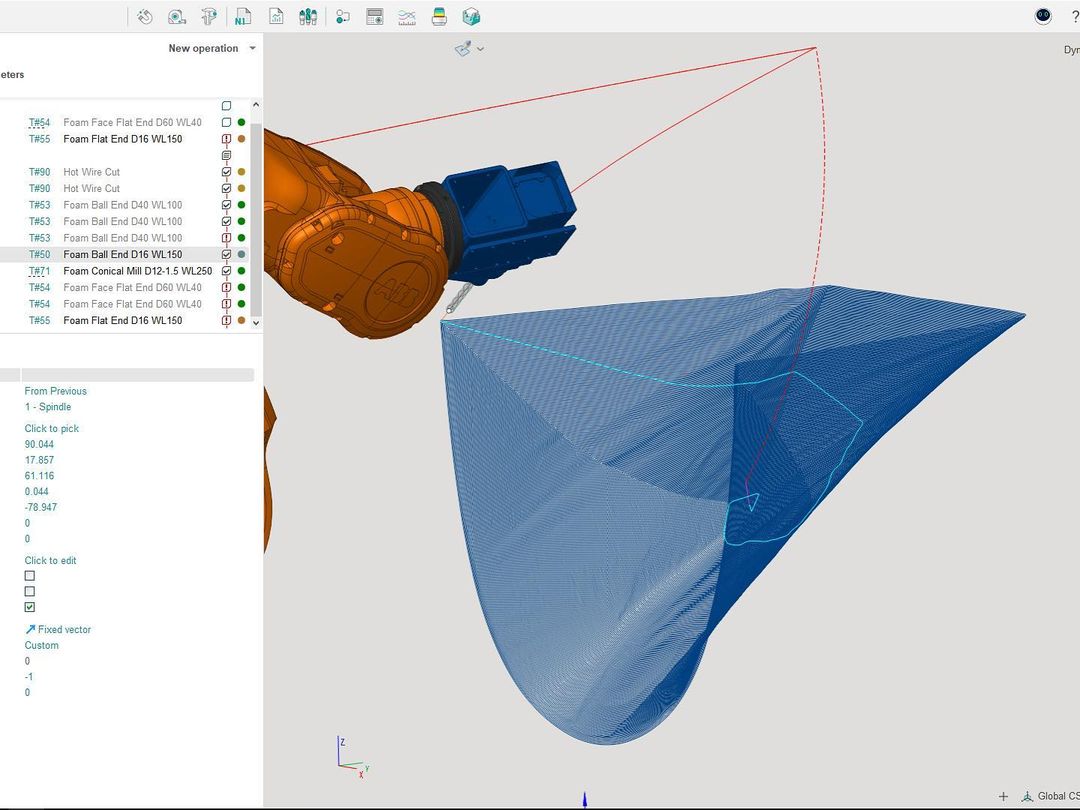
Next, there will be a 3D fix to produce a good milling surface. Stay tuned.
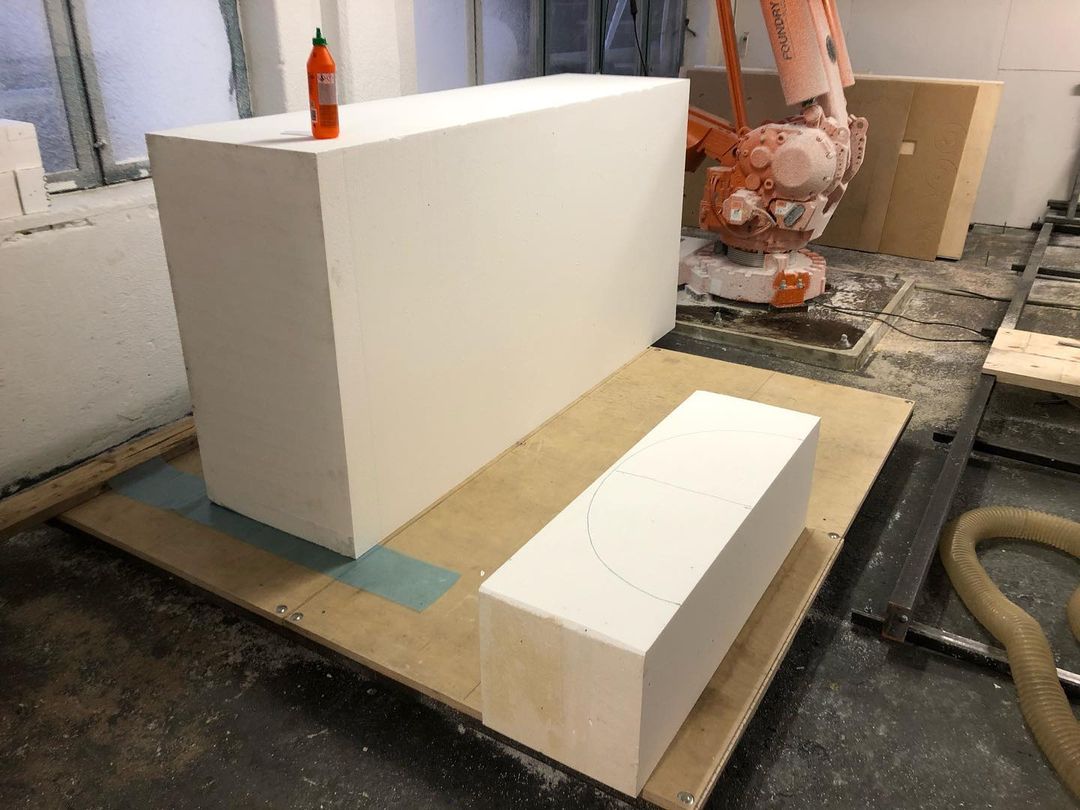
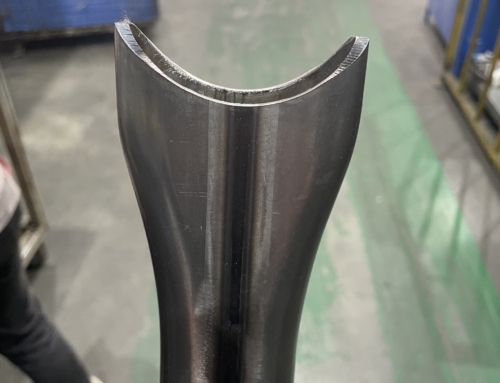
The party block is ready! Now, these two parts should be polished a little so that the negative fits the positive. Then the negative should be milled positively. Ready as a sausage spade!
The support piece is finished! These two parts will now be sanded slightly to make the negative fit the positive. The negative will then be milled positively. Plain as a pikestaff!”
“Här börjar ett nytt projekt för @ateljejohanstrom där ett ansikte ska gjutas i järn. Det är lite mer trix än normalt eftersom modellen måste göras tunn, omkring 30-40 mm.
Johan har tagit fram ett original i gips (ca 20 cm långt) som jag scannat genom fotogrammetri. Särskild mjukvara används för att analysera ett par hundra fotografier av originalet i olika vinklar. Efter några timmars beräkningar får man en tredimensionell modell att arbeta vidare med.
Under tiden datorn räknar på bilderna jobbar jag med ämnesberedning, dvs att kapa stora råblock till mindre bitar som passar modellen jag ska fräsa. Jag försöker minska antalet limningar, dels för att det tar tid, men också för att slippa hårda skarvar i den färdiga ytan. Samtidigt försöker jag minimera spill på blocken, så det blir lite pusslande ibland. Bitarna behöver även planfräsas för att få bra anläggning och bättre bett i limningen.
Blocken limmar jag bara där det behövs för att minska mängden lim, men också för att jag vill grovskära med tråd och det funkar dåligt genom limskarvar. Det här är ingen kärnfysik – bara lastremmar, grillpinnar och skruv för att hålla saker på plats under härdning.
Härnäst blir det 3d-fix för att få fram ett bra fräsunderlag. Stay tuned.
Partklossen är färdig! Nu ska dessa två delar putsas en aning så att negativet passar positivet. Sen ska negativet fräsas positivt. Klart som korvspad!
The support piece is finished! These two parts will now be sanded slightly to make the negative fit the positive. The negative will then be milled positively. Plain as a pikestaff!”
